前回、MTのインストール方法をまとめたので、今度はWordPressのインストール方法をまとめます。
部分的に、MTのインストール方法と重複するところもありますが、初期作成としてクリーンなUbuntuからの導入としてまとめます。
インストール環境の Ubuntu は 18.04 です。
WordPressは当エントリー時に公開されているものを使います。
流れとしては、
1. php-fpm, およびphp拡張機能
2. nginx, php拡張子の有効化
3. MariaDB (MySQL)
4. WordPressの設置、設定ウイザード
の順です。WordPressを動かす前の 1. ~ 3. の順番はどこからでも関係ありません。
php インストール
php-fpm をインストールします。
sudo apt install php-fpm -y
php-fpm をインストールした後のdpkg確認
dpkg -l | grep php
ii  php-common                                 1:60ubuntu1                                      all          Common files for PHP packages
ii  php-fpm                                    1:7.2+60ubuntu1                                  all          server-side, HTML-embedded scripting language (FPM-CGI binary) (default)
ii  php7.2-cli                                 7.2.24-0ubuntu0.18.04.6                          amd64        command-line interpreter for the PHP scripting language
ii  php7.2-common                              7.2.24-0ubuntu0.18.04.6                          amd64        documentation, examples and common module for PHP
ii  php7.2-fpm                                 7.2.24-0ubuntu0.18.04.6                          amd64        server-side, HTML-embedded scripting language (FPM-CGI binary)
ii  php7.2-json                                7.2.24-0ubuntu0.18.04.6                          amd64        JSON module for PHP
ii  php7.2-opcache                             7.2.24-0ubuntu0.18.04.6                          amd64        Zend OpCache module for PHP
ii  php7.2-readline                            7.2.24-0ubuntu0.18.04.6                          amd64        readline module for PHP
なお、"php" を入れると(sudo apt install php)一緒にApache2もインストールされる様なので注意してください。知らないうちに Apache2 が入っていたという場合は、"php" をインストールしたことが原因になると思います。
nginx(のみ)使用するなら Apache2 はインストールされていないほうが良いですが、Apache2 が入ってしまっても stop しておけば良いだけです。
※nginx と Apache2 をポートを変えたりして同時に動かすこともできます。
また、phpに絡むものとして、日本語Ubuntu の場合は訊かれませんでしたが、WSLやDockerのUbuntuを触っていると、地域とタイムゾーンを訊いてきますのでその場合は、
→ 6. Asia
→ 79. Tokyo
を選択してください。
VPS等の場合にも訊かれるかもしれません。
参考までに、sudo apt install php をした場合のdpkg結果を載せておきます。
インストール前の結果は apache, php 共に結果なしだったので、php で apache がインストールされたことになります。
dpkg -l | grep apach
ii  apache2                                    2.4.29-1ubuntu4.13                               amd64        Apache HTTP Server
ii  apache2-bin                                2.4.29-1ubuntu4.13                               amd64        Apache HTTP Server (modules and other binary files)
ii  apache2-data                               2.4.29-1ubuntu4.13                               all          Apache HTTP Server (common files)
ii  apache2-utils                              2.4.29-1ubuntu4.13                               amd64        Apache HTTP Server (utility programs for web servers)
ii  libapache2-mod-php7.2                      7.2.24-0ubuntu0.18.04.6                          amd64        server-side, HTML-embedded scripting language (Apache 2 module)
dpkg -l | grep php
ii  libapache2-mod-php7.2                      7.2.24-0ubuntu0.18.04.6                          amd64        server-side, HTML-embedded scripting language (Apache 2 module)
ii  php                                        1:7.2+60ubuntu1                                  all          server-side, HTML-embedded scripting language (default)
ii  php-common                                 1:60ubuntu1                                      all          Common files for PHP packages
ii  php7.2                                     7.2.24-0ubuntu0.18.04.6                          all          server-side, HTML-embedded scripting language (metapackage)
ii  php7.2-cli                                 7.2.24-0ubuntu0.18.04.6                          amd64        command-line interpreter for the PHP scripting language
ii  php7.2-common                              7.2.24-0ubuntu0.18.04.6                          amd64        documentation, examples and common module for PHP
ii  php7.2-json                                7.2.24-0ubuntu0.18.04.6                          amd64        JSON module for PHP
ii  php7.2-opcache                             7.2.24-0ubuntu0.18.04.6                          amd64        Zend OpCache module for PHP
ii  php7.2-readline                            7.2.24-0ubuntu0.18.04.6                          amd64        readline module for PHP
apache2が入っていたら、nginx を起動する時にポート番号(80)がバッティングして起動できないことになるので、apache2のサービスは停止しておきましょう。ポートを変えて動かすでも良いです。
さて、php-fpm をインストールしたら、/var/run/php/php7.2-fpm.sock が作られていることを確認しておきます。これはFastCGIに使うものです。
※phpのバージョンでファイル名が変わるので、例えば 7.0 なら、php7.0-fpm.sock になります。
ls /var/run/php/*.sock
php7.2-fpmはサービスなので起動しておきます。
sudo service php7.2-fpm start
次に php の拡張機能をインストール。ちょっと調べたところ、以下のもの程度があれば良い様です。
sudo apt install php-curl php-mysql php-gd php-intl php-mbstring -y
sudo apt install php-soap php-xml php-xmlrpc php-zip php-bz2 -y
readline, json, opcache は、php-fpm を入れた時に入ってきた様なので明示してません。
もし入っていない場合は、
php-readline
php-json
php-opcache
もインストールしておきましょう。
この他に必要になる拡張機能は任意で。
※私は php / WordPress をあまり使用してなく疎いので、運用中等に何が必要なのか良く分かりません。
nginx インストール
sudo apt install nginx -y
nginx 設定
SSLの設定は前のエントリーに少し触りだけ書いています。
→Ubuntuにnginxをインストール
php拡張子を有効にするため次の変更をします。
sudo nano /etc/nginx/sites-enabled/default
以下、変更箇所 (44 行目, 46 行目, 56-63 行目のハイライトしたところ)
##
# You should look at the following URL's in order to grasp a solid understanding
# of Nginx configuration files in order to fully unleash the power of Nginx.
# https://www.nginx.com/resources/wiki/start/
# https://www.nginx.com/resources/wiki/start/topics/tutorials/config_pitfalls/
# https://wiki.debian.org/Nginx/DirectoryStructure
#
# In most cases, administrators will remove this file from sites-enabled/ and
# leave it as reference inside of sites-available where it will continue to be
# updated by the nginx packaging team.
#
# This file will automatically load configuration files provided by other
# applications, such as Drupal or Wordpress. These applications will be made
# available underneath a path with that package name, such as /drupal8.
#
# Please see /usr/share/doc/nginx-doc/examples/ for more detailed examples.
##

# Default server configuration
#
server {
        listen 80 default_server;
        listen [::]:80 default_server;

        # SSL configuration
        #
        # listen 443 ssl default_server;
        # listen [::]:443 ssl default_server;
        #
        # Note: You should disable gzip for SSL traffic.
        # See: https://bugs.debian.org/773332
        #
        # Read up on ssl_ciphers to ensure a secure configuration.
        # See: https://bugs.debian.org/765782
        #
        # Self signed certs generated by the ssl-cert package
        # Don't use them in a production server!
        #
        # include snippets/snakeoil.conf;

        root /var/www/html;

        # Add index.php to the list if you are using PHP
        index index.php index.html index.htm index.nginx-debian.html;

        #server_name _;

        location / {
                # First attempt to serve request as file, then
                # as directory, then fall back to displaying a 404.
                try_files $uri $uri/ =404;
        }

        # pass PHP scripts to FastCGI server
        #
        location ~ \.php$ {
                include snippets/fastcgi-php.conf;
        #
        #       # With php-fpm (or other unix sockets):
                fastcgi_pass unix:/var/run/php/php7.2-fpm.sock;
        #       # With php-cgi (or other tcp sockets):
        #       fastcgi_pass 127.0.0.1:9000;
        }

        # deny access to .htaccess files, if Apache's document root
        # concurs with nginx's one
        #
        #location ~ /\.ht {
        #       deny all;
        #}
}
# Virtual Host configuration for example.com
#
# You can move that to a different file under sites-available/ and symlink that
# to sites-enabled/ to enable it.
#
#server {
#       listen 80;
#       listen [::]:80;
#
#       server_name example.com;
#
#       root /var/www/example.com;
#       index index.html;
#
#       location / {
#               try_files $uri $uri/ =404;
#       }
#}
(上書保存、終了 : CTRL + s、CTRL + x)
44 行目は index.php をデフォルトドキュメントに追加するために追加しています。
46 行目はコメントアウトします。
56-63 行目の部分はコメントを外します。fastcgi_pass のファイル指定が、初期は php7.0-fpm.sock と記載されているので、php7.2-fpm.sock に変えてください
MariaDB (MySQL) インストール
※MTのインストール記事と重複しますが同じ内容を記載します。
インストールするものは、mariadb-server と mariadb-client。
そのままインストールすると最新よりも古いものが降ってくるので先にリポジトリを更新します。
参考:リポジトリ更新前の list(執筆時)
sudo apt list | grep -i mariadb-server
mariadb-server/bionic-updates,bionic-updates,bionic-security,bionic-security 1:10.1.44-0ubuntu0.18.04.1 all
mariadb-server-10.1/bionic-updates,bionic-security 1:10.1.44-0ubuntu0.18.04.1 amd64
mariadb-server-core-10.1/bionic-updates,bionic-security 1:10.1.44-0ubuntu0.18.04.1 amd64
次のコマンドでリポジトリ更新
curl -LsS https://downloads.mariadb.com/MariaDB/mariadb_repo_setup | sudo bash
list 再確認
sudo apt list | grep -i mariadb-server
次の様になった(10.5が加わった)
mariadb-server/不明 1:10.5.4+maria~bionic all
mariadb-server-10.1/bionic-updates,bionic-security 1:10.1.44-0ubuntu0.18.04.1 amd64
mariadb-server-10.5/不明 1:10.5.4+maria~bionic amd64
mariadb-server-core-10.1/bionic-updates,bionic-security 1:10.1.44-0ubuntu0.18.04.1 amd64
mariadb-server-core-10.5/不明 1:10.5.4+maria~bionic amd64
それでは、インストール
sudo apt install mariadb-server mariadb-client -y
インストール後 dpkg 確認
dpkg -l | grep -i mariadb
ii  libdbd-mysql-perl                          4.046-1                                          amd64        Perl5 database interface to the MariaDB/MySQL database
ii  libmariadb3:amd64                          1:10.5.4+maria~bionic                            amd64        MariaDB database client library
ii  mariadb-client                             1:10.5.4+maria~bionic                            all          MariaDB database client (metapackage depending on the latest version)
ii  mariadb-client-10.5                        1:10.5.4+maria~bionic                            amd64        MariaDB database client binaries
ii  mariadb-client-core-10.5                   1:10.5.4+maria~bionic                            amd64        MariaDB database core client binaries
ii  mariadb-common                             1:10.5.4+maria~bionic                            all          MariaDB common configuration files
ii  mariadb-server                             1:10.5.4+maria~bionic                            all          MariaDB database server (metapackage depending on the latest version)
ii  mariadb-server-10.5                        1:10.5.4+maria~bionic                            amd64        MariaDB database server binaries
ii  mariadb-server-core-10.5                   1:10.5.4+maria~bionic                            amd64        MariaDB database core server files
ii  mysql-common                               1:10.5.4+maria~bionic                            all          MariaDB database common files (e.g. /etc/mysql/my.cnf)
これで最新のMariaDBのインストール完了。デフォルトで TCP 3306ポートで動作しています。
MariaDB (MySQL) 初期設定
mysql_secure_installationを実行します。
sudo mysql_secure_installation
以下のように質問されるので各回答します。ハイライトしたところが入力箇所です。
NOTE: RUNNING ALL PARTS OF THIS SCRIPT IS RECOMMENDED FOR ALL MariaDB
      SERVERS IN PRODUCTION USE!  PLEASE READ EACH STEP CAREFULLY!

In order to log into MariaDB to secure it, we'll need the current
password for the root user. If you've just installed MariaDB, and
haven't set the root password yet, you should just press enter here.

Enter current password for root (enter for none):
OK, successfully used password, moving on...

Setting the root password or using the unix_socket ensures that nobody
can log into the MariaDB root user without the proper authorisation.

You already have your root account protected, so you can safely answer 'n'.

Switch to unix_socket authentication [Y/n] y
Enabled successfully!
Reloading privilege tables..
 ... Success!


You already have your root account protected, so you can safely answer 'n'.

Change the root password? [Y/n] y
New password:
Re-enter new password:
Password updated successfully!
Reloading privilege tables..
 ... Success!


By default, a MariaDB installation has an anonymous user, allowing anyone
to log into MariaDB without having to have a user account created for
them.  This is intended only for testing, and to make the installation
go a bit smoother.  You should remove them before moving into a
production environment.

Remove anonymous users? [Y/n] y
 ... Success!

Normally, root should only be allowed to connect from 'localhost'.  This
ensures that someone cannot guess at the root password from the network.

Disallow root login remotely? [Y/n] y
 ... Success!

By default, MariaDB comes with a database named 'test' that anyone can
access.  This is also intended only for testing, and should be removed
before moving into a production environment.

Remove test database and access to it? [Y/n] y
 - Dropping test database...
 ... Success!
 - Removing privileges on test database...
 ... Success!

Reloading the privilege tables will ensure that all changes made so far
will take effect immediately.

Reload privilege tables now? [Y/n] y
 ... Success!

Cleaning up...

All done!  If you've completed all of the above steps, your MariaDB
installation should now be secure.

Thanks for using MariaDB!
詳細説明は省きますが、各質問は次の回答をします。
8行目
Enter current password for root (enter for none):
初期の root パスワードは無いので(空のまま)そのままEnter
16行目
Switch to unix_socket authentication [Y/n]
→ y 入力
24行目
Change the root password? [Y/n]
→ y 入力
25,26行目
New password:
Re-enter new password:
→ root のパスワードを入力、root はDBへのスーパーユーザーなので忘れないように!
38行目
Remove anonymous users? [Y/n]
→ y 入力
44行目
Disallow root login remotely? [Y/n]
→ y 入力
51行目
Remove test database and access to it? [Y/n]
→ y 入力
60行目
Reload privilege tables now? [Y/n]
→ y 入力
これで、MariaDB(MySQL)が出来たので、確認のため一度ログインしてみます。
mysql -u root -p mysql
rootのパスワードを入力しログイン、"MariaDB [mysql]>" のプロンプトでSQL入力待ちになるはずです。
Enter password:
Reading table information for completion of table and column names
You can turn off this feature to get a quicker startup with -A

Welcome to the MariaDB monitor.  Commands end with ; or \g.
Your MariaDB connection id is 54
Server version: 10.5.4-MariaDB-1:10.5.4+maria~bionic mariadb.org binary distribution

Copyright (c) 2000, 2018, Oracle, MariaDB Corporation Ab and others.

Type 'help;' or '\h' for help. Type '\c' to clear the current input statement.

MariaDB [mysql]>
試しに、データーベース一覧
MariaDB [mysql]> show databases;
+--------------------+
| Database           |
+--------------------+
| information_schema |
| mysql              |
| performance_schema |
+--------------------+
3 rows in set (0.000 sec)
データーベースが3つあるのが確認できます。
SQLコマンドから抜けるには、quitで抜けます。
MariaDB [mysql]> quit
Bye
MariaDB (MySQL) に WordPress 用のデーターベースを作成
あらためて WordPress 用のデーターベースを作成します。各テーブルは WordPress のウイザードが作成してくれるので、データーベースを作成するだけです。
MySQLにログイン
mysql -u root -p mysql
→パスワード入力して入る。
データーベース作成。DB名は "wp_db" とします。
create database wp_db DEFAULT CHARACTER SET utf8 DEFAULT COLLATE utf8_general_ci;
Query OK, 1 row affected (0.000 sec)
ユーザー作成。ユーザー名は "wpuser" とします。('wpuser'@'localhost')
パスワードは"P@ssw0rd"とします。(仮です)
create user 'wpuser'@'localhost' identified by 'P@ssw0rd';
Query OK, 0 rows affected (0.007 sec)
作成ユーザーにDBへの権限を付与します。
grant all on wp_db.* to 'wpuser'@'localhost';
Query OK, 0 rows affected (0.017 sec)
権限をフラッシュさせます。(必須)
FLUSH PRIVILEGES;
Query OK, 0 rows affected (0.001 sec)
終了、SQLから抜けます
quit;
これでDBは完了です。
WordPressの設置
latest-ja.tar.gzを取得しますが、作業用に temp フォルダを作成してそこで作業します。
mkdir temp
cd temp
wgetでWordPressを取得
wget https://ja.wordpress.org/latest-ja.tar.gz
tarで解凍
tar -zxvf latest-ja.tar.gz
wordpress フォルダが出来るので、そこにカレント移動
cd wordpress
nginxのドキュメント配下に WordPress を公開するパスを作成しファイルをコピーします。
ここでは、WordPress を /wp/ フォルダに公開するとします。
nginx のドキュメントルートは、/var/www/html/ なのでその配下に wp フォルダを作成します。
sudo mkdir /var/www/html/wp
/wp/ フォルダにすべてのファイルをコピー(カレントファイルの以下全て)
sudo cp -r * /var/www/html/wp/
/wp 配下のファイル権限を変更します。
sudo chown www-data.www-data /var/www/html/wp -R
これで WordPress の準備完了です。
ここまでの関連サービスを一度リスタートしておきます。
sudo service php7.2-fpm restart
sudo service mariadb restart
sudo service nginx restart
もし nginx の起動でエラーが出た場合は、Apache2 が動いていないか、ポート番号が重複していないかなど確認してみてください。
それでもダメならUbuntuリブート、apt update, apt upgrade をやってみる等もありますが、正確にはエラー内容からログを調べて解決の糸口を見つけるのが正しいです。
WordPress 実行
→ http://172.24.0.78/wp/ へアクセス。
WordPressの設定ウイザードが始まります。
もし 403 Forbidden になる場合は、nginxの設定で index に index.php を追加したか確認してください。
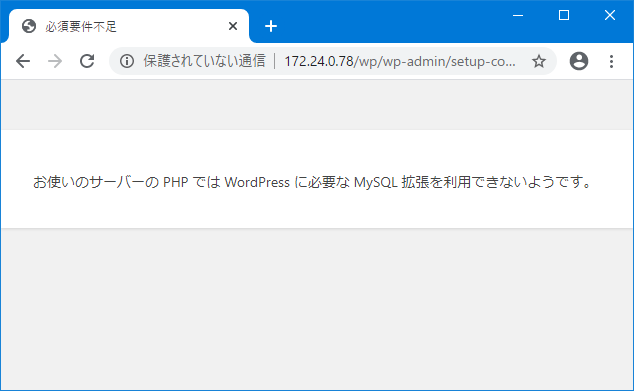
更に、もし次のように「お使いのサーバーの PHP では WordPress に必要な MySQL 拡張を利用できないようです。」が表示された場合は、nginxでは無くApache2で動いている可能性もあるのでApache2が停止しているか確認してください。それでも解決できない場合は(レンタルサーバーなど)ウイザードをあきらめて wp-config.php を直接作成(wp-config-sample.phpをコピー、リネーム)しても動かせるようです。
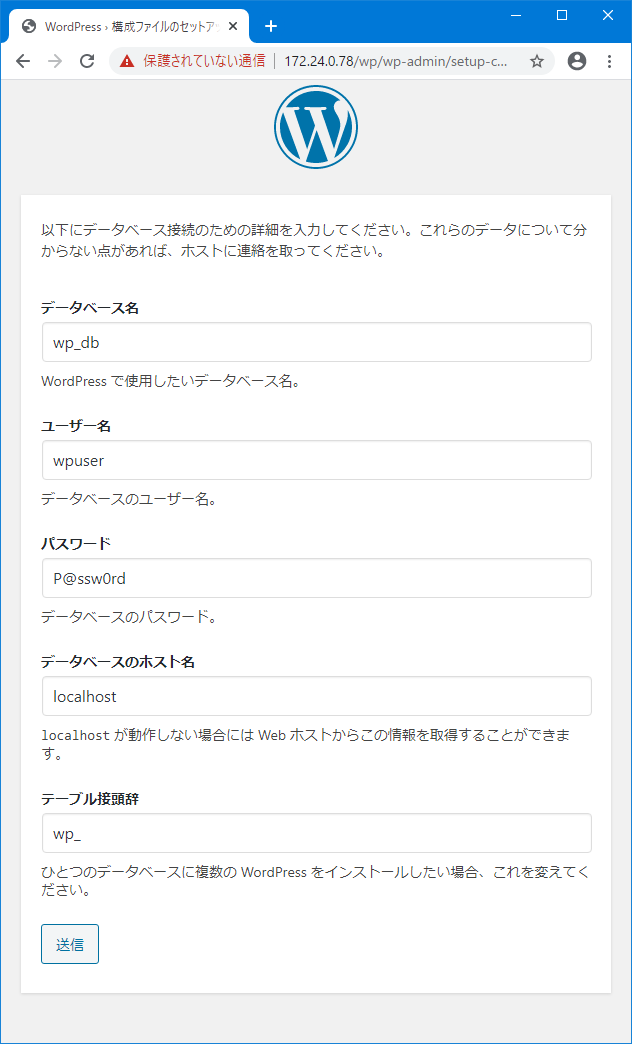
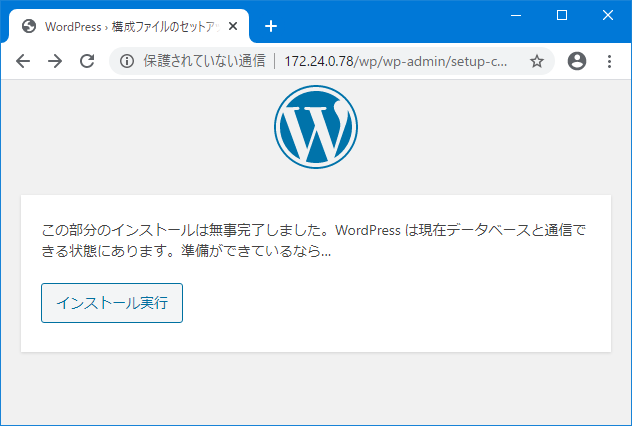
問題なければ、WordPressの設定ウイザードが開きます。

データベースの設定には、作成したDB名、接続ユーザーの情報を入力します。
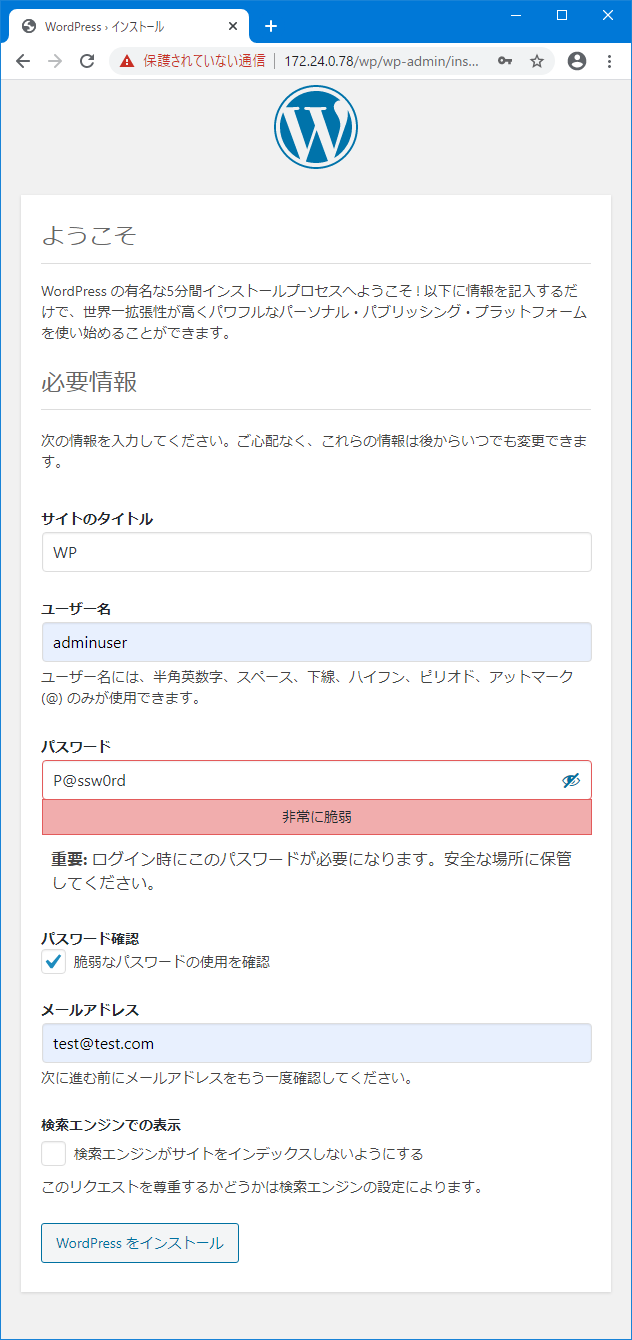
必要情報に、サイトの名前と、ログイン情報の入力します。最下部の「検索エンジンでの表示」とは何でしょうかね?私はWordPressを良く知らないので良く分かりませんが、仮に robots.txt を作ってくれると推測すると「robots.txtに~~」というような質問になら答えられるのですが、不明な質問には(調べれば分かると思うが)Yesとはしないのでチェックはしません。
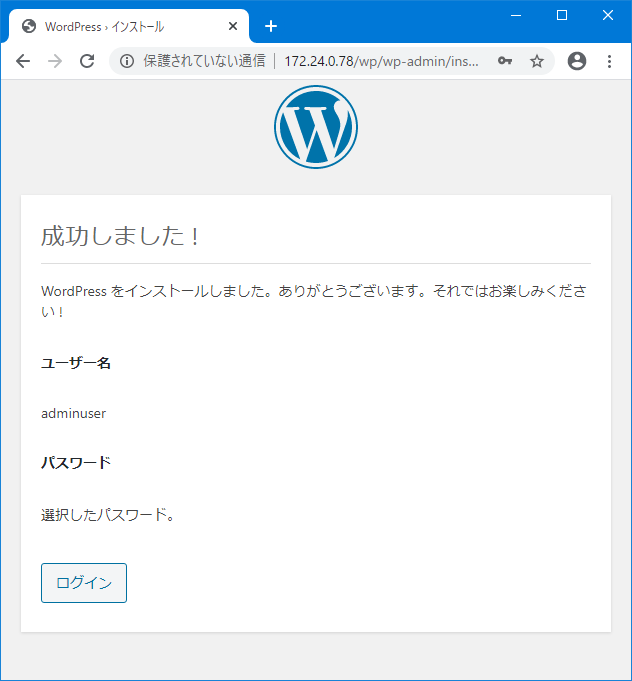
設定完了しました。
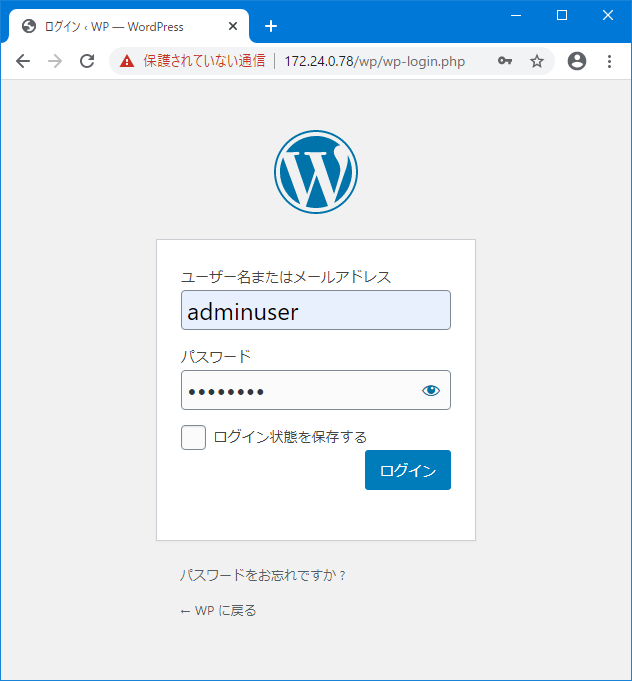
ログイン画面
ダッシュボード
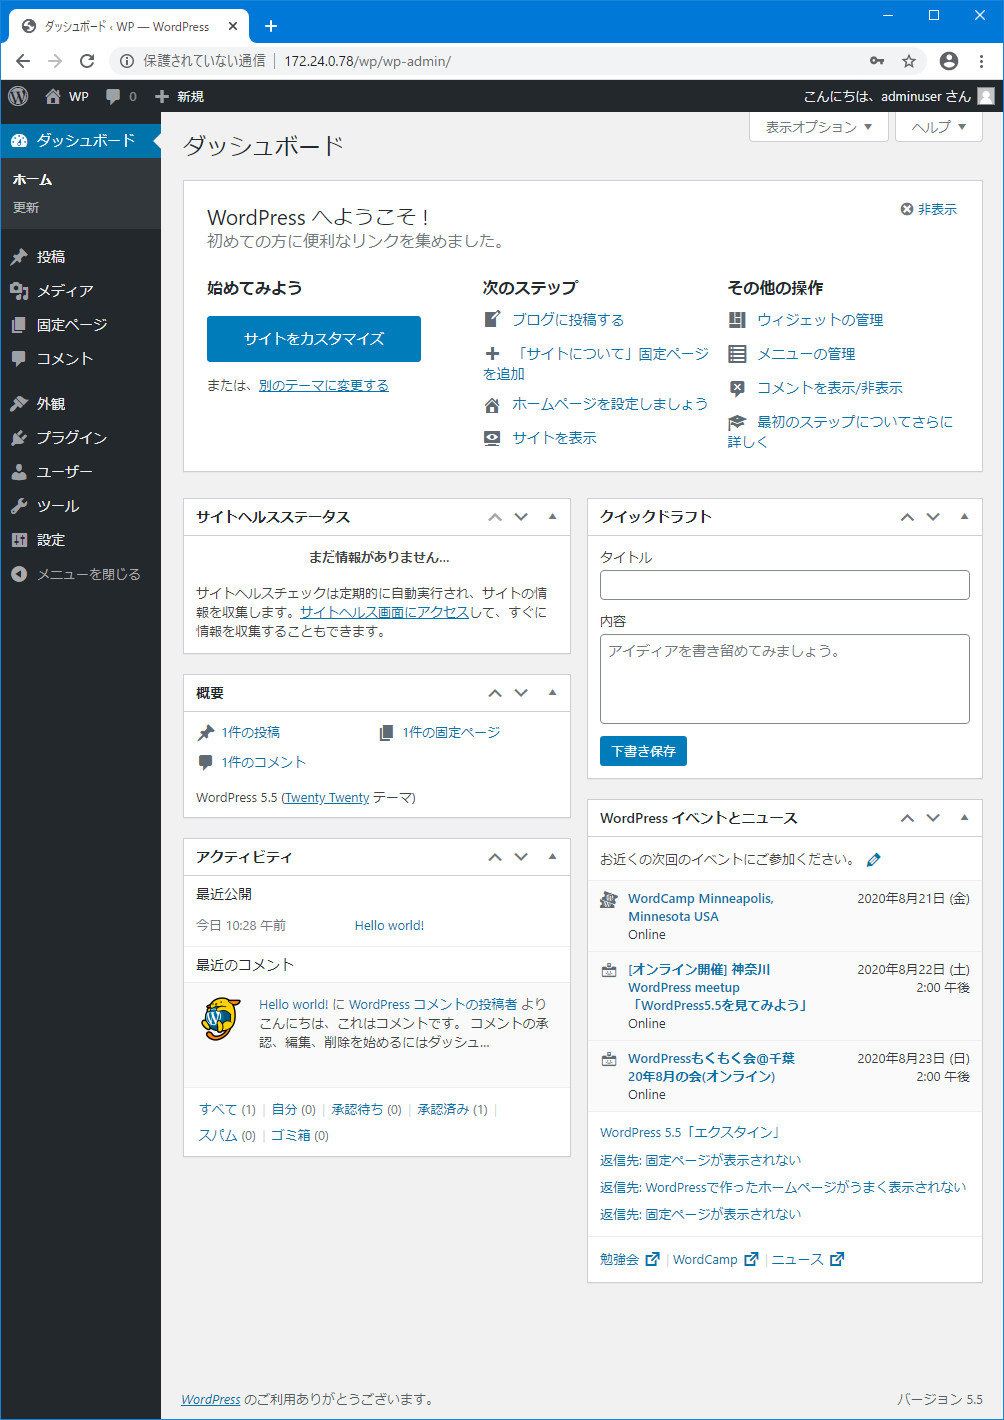
これで、WordPressのインストール完了です。
参考までに、ウイザードで作成された wp-config.php は以下になりました。
おそらくコメントにある日本語は、日本語Ubuntuなら表示できますが、他のものは文字化けすると思います。(WSLでは文字化けしていました)
sudo nano /var/www/html/wp/wp-config.php
<?php
/**
 * WordPress の基本設定
 *
 * このファイルは、インストール時に wp-config.php 作成ウィザードが利用します。
 * ウィザードを介さずにこのファイルを "wp-config.php" という名前でコピーして
 * 直接編集して値を入力してもかまいません。
 *
 * このファイルは、以下の設定を含みます。
 *
 * * MySQL 設定
 * * 秘密鍵
 * * データベーステーブル接頭辞
 * * ABSPATH
 *
 * @link https://ja.wordpress.org/support/article/editing-wp-config-php/
 *
 * @package WordPress
 */

// 注意:
// Windows の "メモ帳" でこのファイルを編集しないでください !
// 問題なく使えるテキストエディタ
// (http://wpdocs.osdn.jp/%E7%94%A8%E8%AA%9E%E9%9B%86#.E3.83.86.E3.82.AD.E3.82.B9.E3.83.88.E3.82.A8.E3.83.87.E3.82.A3.E3.82.BF 参照)
// を使用し、必ず UTF-8 の BOM なし (UTF-8N) で保存してください。

// ** MySQL 設定 - この情報はホスティング先から入手してください。 ** //
/** WordPress のためのデータベース名 */
define( 'DB_NAME', 'wp_db' );

/** MySQL データベースのユーザー名 */
define( 'DB_USER', 'wpuser' );

/** MySQL データベースのパスワード */
define( 'DB_PASSWORD', 'P@ssw0rd' );

/** MySQL のホスト名 */
define( 'DB_HOST', 'localhost' );

/** データベースのテーブルを作成する際のデータベースの文字セット */
define( 'DB_CHARSET', 'utf8mb4' );

/** データベースの照合順序 (ほとんどの場合変更する必要はありません) */
define( 'DB_COLLATE', '' );

/**#@+
 * 認証用ユニークキー
 *
 * それぞれを異なるユニーク (一意) な文字列に変更してください。
 * {@link https://api.wordpress.org/secret-key/1.1/salt/ WordPress.org の秘密鍵サービス} で自動生成することもできます。
 * 後でいつでも変更して、既存のすべての cookie を無効にできます。これにより、すべてのユーザーを強制的に再ログインさせることになります。
 *
 * @since 2.6.0
 */
define( 'AUTH_KEY',         '***** [伏せます] *****' );
define( 'SECURE_AUTH_KEY',  '***** [伏せます] *****' );
define( 'LOGGED_IN_KEY',    '***** [伏せます] *****' );
define( 'NONCE_KEY',        '***** [伏せます] *****' );
define( 'AUTH_SALT',        '***** [伏せます] *****' );
define( 'SECURE_AUTH_SALT', '***** [伏せます] *****' );
define( 'LOGGED_IN_SALT',   '***** [伏せます] *****' );
define( 'NONCE_SALT',       '***** [伏せます] *****' );

/**#@-*/

/**
 * WordPress データベーステーブルの接頭辞
 *
 * それぞれにユニーク (一意) な接頭辞を与えることで一つのデータベースに複数の WordPress を
 * インストールすることができます。半角英数字と下線のみを使用してください。
 */
$table_prefix = 'wp_';

/**
 * 開発者へ: WordPress デバッグモード
 *
 * この値を true にすると、開発中に注意 (notice) を表示します。
 * テーマおよびプラグインの開発者には、その開発環境においてこの WP_DEBUG を使用することを強く推奨します。
 *
 * その他のデバッグに利用できる定数についてはドキュメンテーションをご覧ください。
 *
 * @link https://ja.wordpress.org/support/article/debugging-in-wordpress/
 */
define( 'WP_DEBUG', false );

/* 編集が必要なのはここまでです ! WordPress でのパブリッシングをお楽しみください。 */

/** Absolute path to the WordPress directory. */
if ( ! defined( 'ABSPATH' ) ) {
        define( 'ABSPATH', __DIR__ . '/' );
}

/** Sets up WordPress vars and included files. */
require_once ABSPATH . 'wp-settings.php';
ハイライトしたところは、ウイザードで入力したものを含むので、wp-config.phpを直接設置する際に参考になると思います。
コメントする