Ubuntu 18.04にnginxをインストールします。
※ 以下、WSL Ubuntu、Docker EE の Ubuntu でも動きます。
nginx = エンジンエックスと呼ぶようです。(あってるかな?)
nginxはWebサーバーです。
LinuxのフロントWebサーバーは、Apache か nginx のどちらかが主流の様なので、nginx を使ってみます。
nginxのインストールは、
sudo apt install nginx -y
起動は
sudo service nginx start
# もしくは
sudo service nginx restart
これだけです。
サービス起動後は、ホスト名(またはIPアドレス)でアクセスするとルートのページが表示されます。
→ http://172.24.0.78/
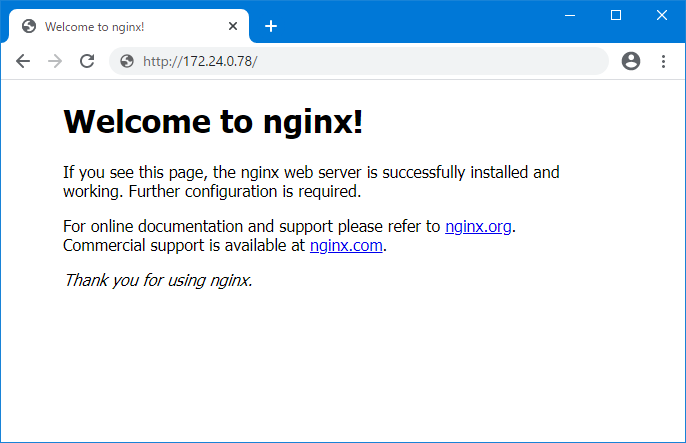
この初期ページは、
/var/www/html/index.nginx-debian.html です。
初期の設定では /etc/nginx/sites-enabled/default によるもので、デフォルトコンテンツは、
index index.html index.htm index.nginx-debian.html;
という設定になっており、
/var/www/html/ 配下には、index.nginx-debian.html だけなので、このファイル内容が表示されます。
仮に、追加でApacheをインストールすると、同フォルダに Apache の index.html が置かれるので、nginxのデフォルトコンテンツが、index.nginx-debian.html では無く index.html が表示されることになり、「あれ?Apache?」と錯覚します。
初期状態では、http(80番ポート)のみなので、SSL証明書を設定してみます。
証明書は、自己証明書や正式に発行された証明書、Apache2のサンプル証明書でも良いですが、サーバー証明書と秘密キーのファイルが必要です。
ここでは、Windows の IIS に設定してある証明書をエクスポート(秘密キー込み)した証明書ファイル(.pfx)を使ってみます。
まず、tmpフォルダで作業しましょう。
mkdir tmp
cd /tmp
エクスポートしたpfxファイルを、どうにかして得ます。
→内部のWebサーバーに置いてwgetしました。
wget http://172.24.0.31/temp/full.pfx
.pfxから証明書と秘密キーを.pemファイルとして取り出す。
※それぞれパスワードを訊かれるので、エクスポートした時のパスワードを入力。
# .pfxからサーバー証明書を取り出す
openssl pkcs12 -in full.pfx -clcerts -nokeys -out mysite_chain.pem
# .pfxから秘密キーを取り出す
openssl pkcs12 -in full.pfx -nocerts -nodes -out mysite_privkey.pem
この2つのファイルをnginxのサーバー設定で指定しますが、ここ(/tmp)にあるのは良くないので、nginxの配下にフォルダを作り、そこへ配置します。
nginx配下に /ssl フォルダを作成
その下に、/certs フォルダと /private フォルダを作成します。
/certs には中間証明を配置し、/private には秘密キーを配置することにしています。
# フォルダ作成
sudo mkdir /etc/nginx/ssl
sudo mkdir /etc/nginx/ssl/certs
sudo mkdir /etc/nginx/ssl/private
# ファイルコピー
sudo cp mysite_chain.pem /etc/nginx/ssl/certs/mysite_chain.pem
sudo cp mysite_privkey.pem /etc/nginx/ssl/private/mysite_privkey.pem
次に設定ファイルの修正
※デフォルトの /etc/nginx/sites-enabled/default を変更しますが、バーチャルホスト等を調整している場合は適宜行ってください。
sudo nano /etc/nginx/sites-enabled/default
以下変更箇所
##
# You should look at the following URL's in order to grasp a solid understanding
# of Nginx configuration files in order to fully unleash the power of Nginx.
# https://www.nginx.com/resources/wiki/start/
# https://www.nginx.com/resources/wiki/start/topics/tutorials/config_pitfalls/
# https://wiki.debian.org/Nginx/DirectoryStructure
#
# In most cases, administrators will remove this file from sites-enabled/ and
# leave it as reference inside of sites-available where it will continue to be
# updated by the nginx packaging team.
#
# This file will automatically load configuration files provided by other
# applications, such as Drupal or Wordpress. These applications will be made
# available underneath a path with that package name, such as /drupal8.
#
# Please see /usr/share/doc/nginx-doc/examples/ for more detailed examples.
##

# Default server configuration
#
server {
        listen 80 default_server;
        listen [::]:80 default_server;

        # SSL configuration
        #
        listen 443 ssl default_server;
        listen [::]:443 ssl default_server;
        #
        # Note: You should disable gzip for SSL traffic.
        # See: https://bugs.debian.org/773332
        #
        # Read up on ssl_ciphers to ensure a secure configuration.
        # See: https://bugs.debian.org/765782
        #
        # Self signed certs generated by the ssl-cert package
        # Don't use them in a production server!
        #
        # include snippets/snakeoil.conf;
        ssl_certificate /etc/nginx/ssl/certs/mysite_chain.pem;
        ssl_certificate_key /etc/nginx/ssl/private/mysite_privkey.pem;

        root /var/www/html;

        # Add index.php to the list if you are using PHP
        index index.html index.htm index.nginx-debian.html;

        server_name _;

        location / {
                # First attempt to serve request as file, then
                # as directory, then fall back to displaying a 404.
                try_files $uri $uri/ =404;
        }

        # pass PHP scripts to FastCGI server
        #
        #location ~ \.php$ {
        #       include snippets/fastcgi-php.conf;
        #
        #       # With php-fpm (or other unix sockets):
        #       fastcgi_pass unix:/var/run/php/php7.0-fpm.sock;
        #       # With php-cgi (or other tcp sockets):
        #       fastcgi_pass 127.0.0.1:9000;
        #}

        # deny access to .htaccess files, if Apache's document root
        # concurs with nginx's one
        #
        #location ~ /\.ht {
        #       deny all;
        #}
}
27,28 行目は、443番ポートを使うことがコメント化されているのでコメントを外します。
40,41 行目は追加行です。証明書ファイル、秘密キーファイルを指定しています。
これで、上書き保存して nano を閉じます。
(CTRL + s、CTRL + x)
nginxをリスタートします。
sudo service nginx restart
httpsでアクセス
→ https://172.24.0.78/
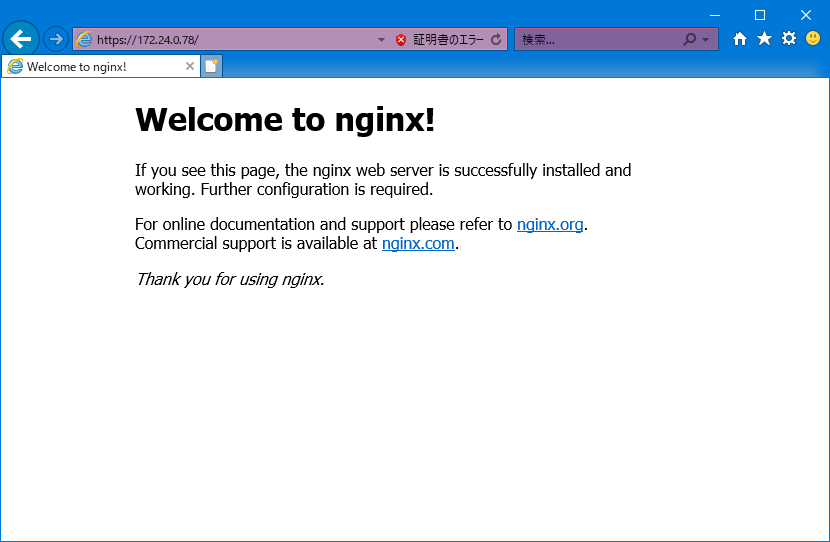
表示できました。
IPアドレスでアクセスしてるので、証明書のFQDNと相違しているのでブラウザで警告が出ますが、証明書を見ると設定した証明書が使われています。
※ 証明書の警告が分かりやすい様、IEでアクセスした画面を載せています。
Ubuntuのサーバーの慣れとしてテストするには十分です。
コメントする